Hello everyone, it's been over a week since my last post and I do apologise. I've been up at my father's again, taking him for appointments and helping sort out his banking. He didn't have any kind of card to be able to pay bills over the phone. So I got that sorted quick smart. He only had an eftpos card. How he's survived all this time with just one of those and an old fashioned check book is beyond me. He agreed that sometimes he didn't want to get in his car and drive all the way to a post office just to pay a bill. I'm feel much relief that we got this sorted.

So what's new with Stampin' Up!? Oh my goodness, wait til you see this year's holiday catalogue. At first I was hard pushed to want much from it but the more I flicked through it, the more I saw. I have been sharing a few projects in the last month. However, today I'm sharing with you a card I created using Annual catalogue products and I am very happy with it indeedydoo! Firstly, I did check out the amazing Youtube clip Stampin' Up! created to make those gorgeous layered daisy flowers on page 23 of the annual catalogue. Have you seen it yet? If not here it is...
https://www.facebook.com/stampinup/videos/1331537627028702/
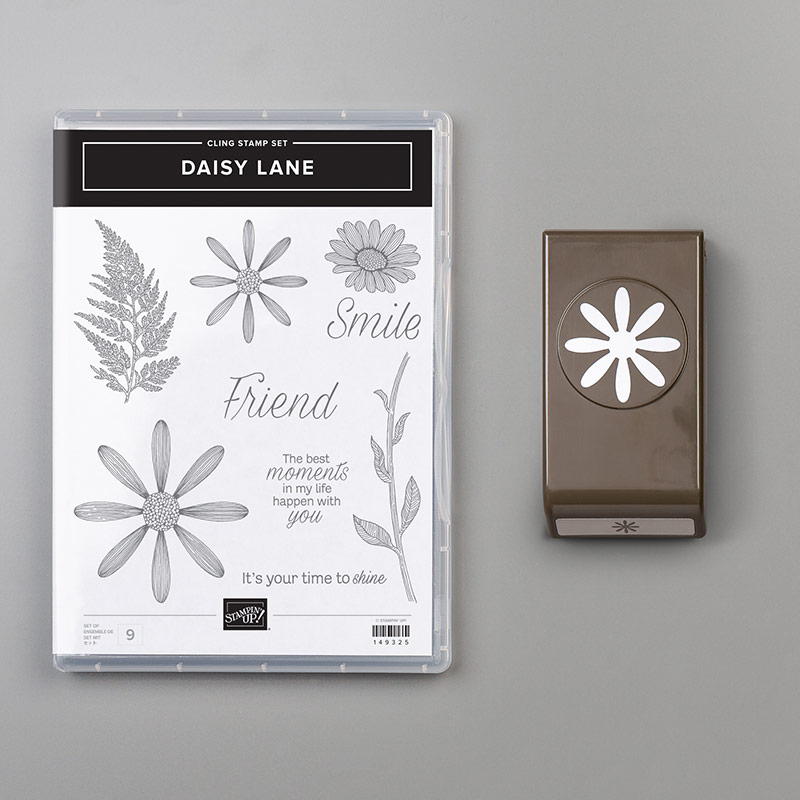
The Daisy Lane stamp & punch bundle is a great bundle to have AND it coordinates so well with the original Daisy Delight stamp set and larger daisy punch too!
For my project this week, I made one layered daisy as per the above video clip. I selected nice bright colours, Terracotta Tile & Pineapple Punch. My layered background is from the Perennial Essence Designer Series paper pack which I've run through my die cutting machine with a new folder coming in the Holiday Catalogue, called Hammered Metal. I so love this embossing folder. I've been watching out for one that embosses like this for years so it was one of the first things I ordered with my pre-order items! I did stamp my daisy stem and the leaves first though, using Mossy Meadow ink.
 My 'Smile' sentiment was stamped in Terracotta Tile then I punched it out using the Everyday Label punch, trimming it down to the size it is. I added a strip of the Woven Threads trim along the bottom. Notice what I did? I pulled the thread from the bottom of this trim to make it look like tassels. I didn't throw out that bit of thread either. I used it to make the little bow underneath the sentiment. Waste not, want not! It's amazing trim, do get some!

I hope you enjoyed this creation. Remember, my online store is open 24/7 so you can shop any time of the day or night!
til next time, remember
happy stamping, colouring & creating!
Product List


No comments:
Post a Comment
Do leave me some comments, it's nice to you know you've visited!